The Dreams Beneath the Searing Sand is the fourth part of the Golden Slumber World Questline, which follows the archaeological team’s delve into the depths of Khaj-Nisut.
How to unlock Dreams Beneath the Searing Sand Sumeru World Quest in Genshin Impact
To unlock this World Quest, you must first venture into theSumeru desertand visit Aaru Village, where you’re able to accept the Golden Slumber questline. You must complete the following quests:
Once you’re done with the above, you’ll automatically unlock Dreams Beneath the Searing Sand.

How to complete Dreams Beneath the Searing Sand Sumeru World Quest in Genshin Impact
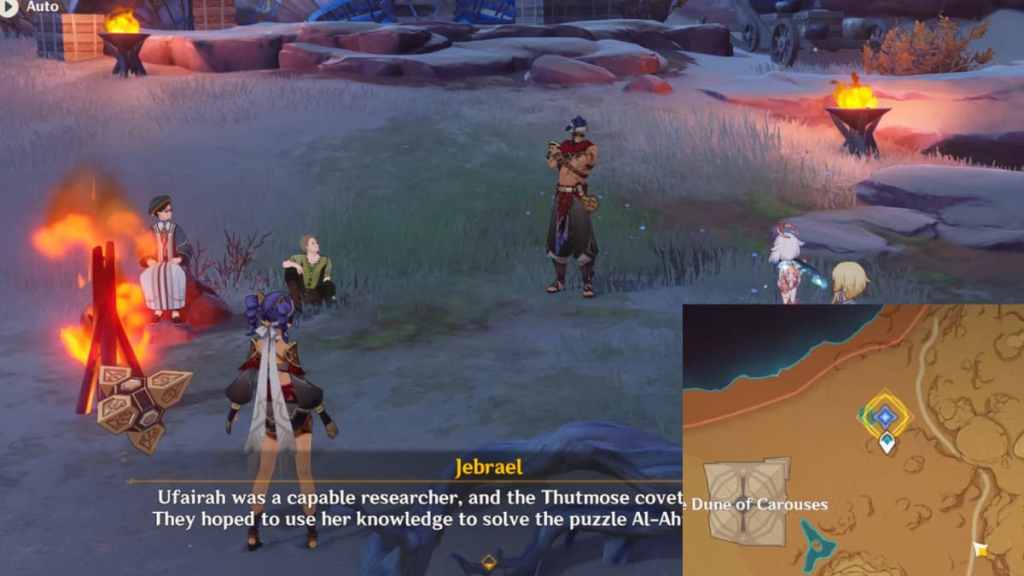
The quest will prompt you to return toSobek Oasisto regroup with the rest of the team, which you can do so via the Teleport Waypoint. Once you reach the camp, you mustdefeat the Eremitesto continue. After the dialogue, you must head to the new camp near the Dune of Carouses.
Search for Khaj-Nisut
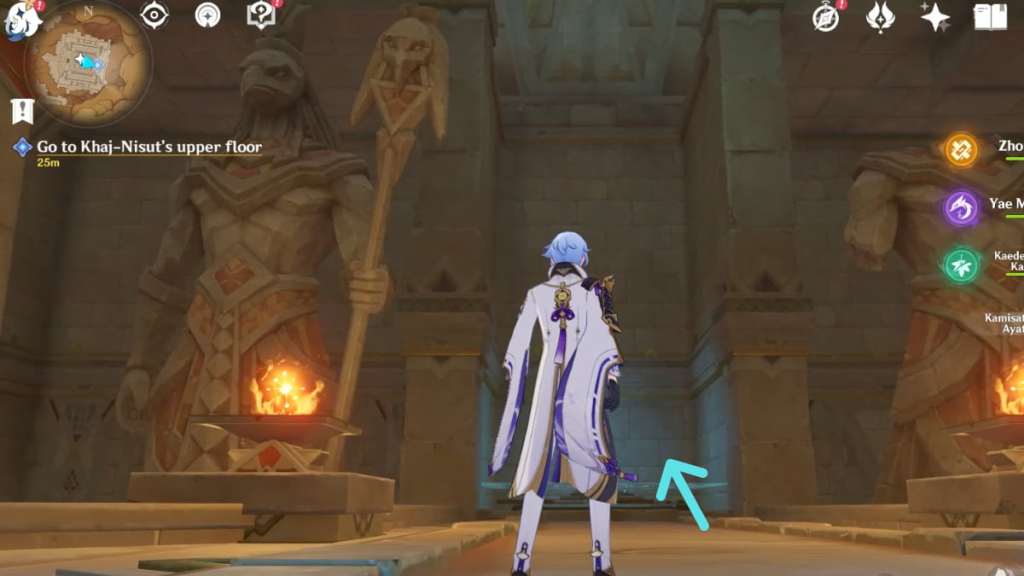
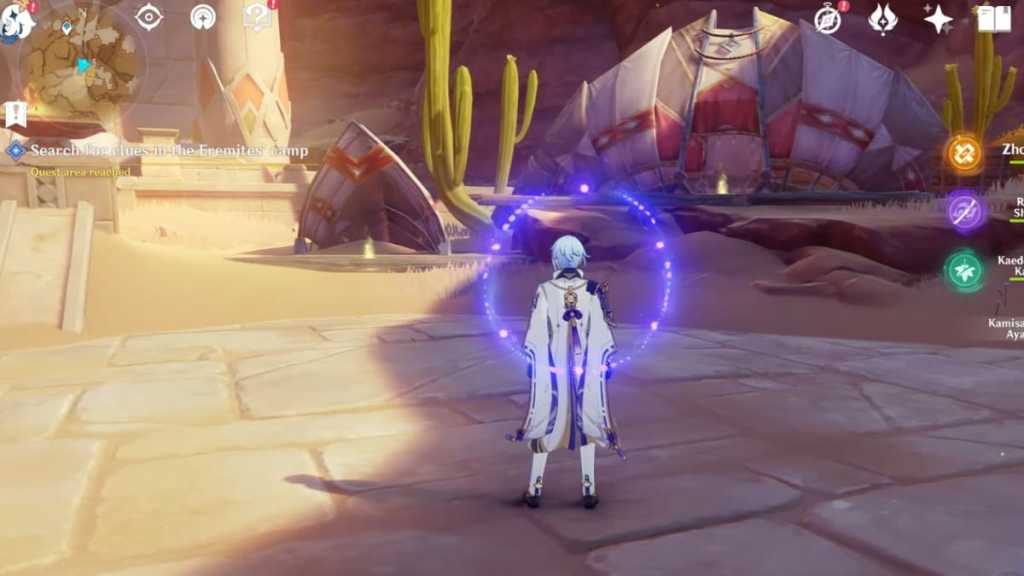
After another round of conversations with the team under the starry sky, you must head to Khaj-Nisut, a giant ruin northeast of the desert. You need to go up the stairs toward the cliff behind the locked Control Unit (where the arrow is pointing above) to trigger the next part of the quest. Follow the quest marker to the nearby Eremite camp anddefeatall enemies.
Related:Where to find Ajilenakh Nuts in Genshin Impact
Search for clues in the Eremites' camp
You must interact with the glowing Investigate spots in this segment to search for clues. They’re located in the following places:
After interacting with all three glowing Investigate spots, speak withJebraelto continue.
Pass the three trials
In this segment, you need to complete three trials north, west, and south of Khaj-Nisut. Enter the pyramid-shaped entrance in each area marked by the quest marker in the World Map to proceed. you’re able to do them inany order—see below for walkthroughs of each puzzle:
Find the way to Khaj-Nisut
After passing the three trials, the Control Unit outside Khaj-Nisut will unlock. So head to the Teleport Waypoint and enter the nearby clearing tointeractwith the Control Unit. A small cutscene will play, dispersing the barrier surrounding the ruin in front of it. You’ll unlock the Wonders of the World Achievement calledFata Morgana.
Next, use theFour-Leaf Sigilsto propel yourself toward the entrance, where there’s anotherControl Unitthat you must interact with to open the door.

Explore Khaj-Nisut’s lower floor
Once inside the final ruin,turn leftto find an opening leading downward. Ignore the Large Fan Blades and use a Plunge Attack not to get caught up by the air. You must plunge downward twice to make it to the lower floor, where there’s a giant mechanism at the center of the room.
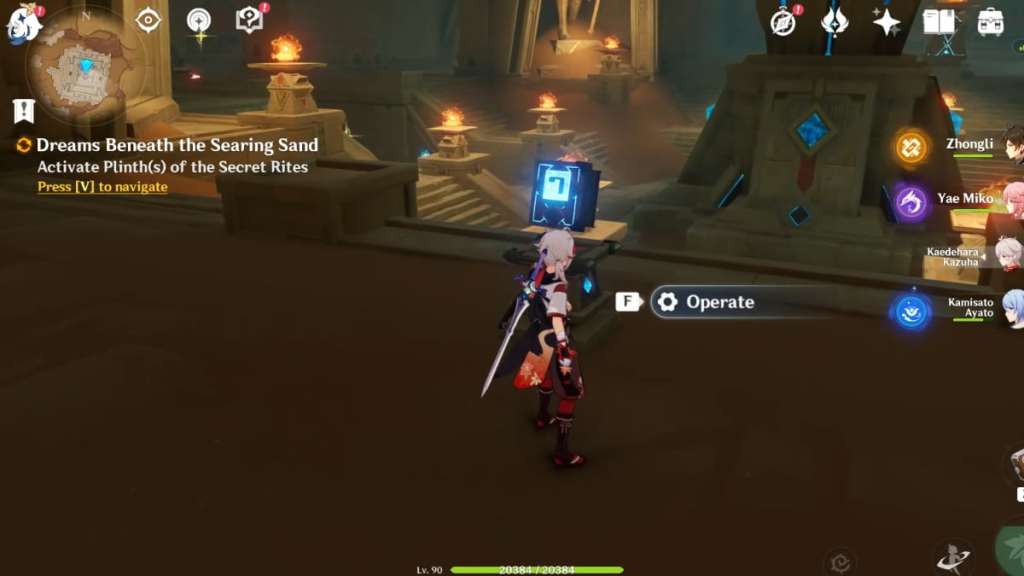
Activate the Plinth(s) of the Secret Rites
As soon as you descend, you’ll find aControl Unitin front of you. Simply interact with it to complete this segment, then walk forward a few steps to continue.
Activate the mechanism in the center of the hall
Next, you need to activate the giant mechanism by guiding the three Primal Embers in the area—the quest marker brands their locations in the World Map and mini-map. You can find the full walkthrough of completing this part by checking out our guide on activatingthe mechanism in the center of the hall.
Go to Khaj-Nisut’s upper floor
Follow the direction of the quest marker to find a Large Fan Blade.Wait until it turns on, then use the air to propel yourself upward. You’ll find yourself in a room filled with floating platforms.
Related:Is Cyno worth pulling for in Genshin Impact?
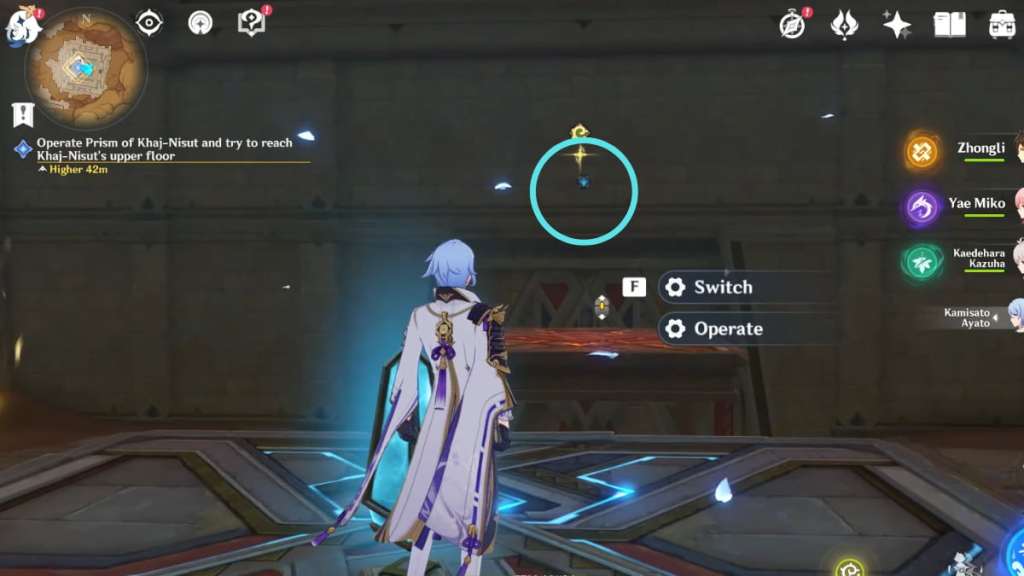
Operate the Prism of Khaj-Nisut and try to reach Khaj-Nisut’s upper floor
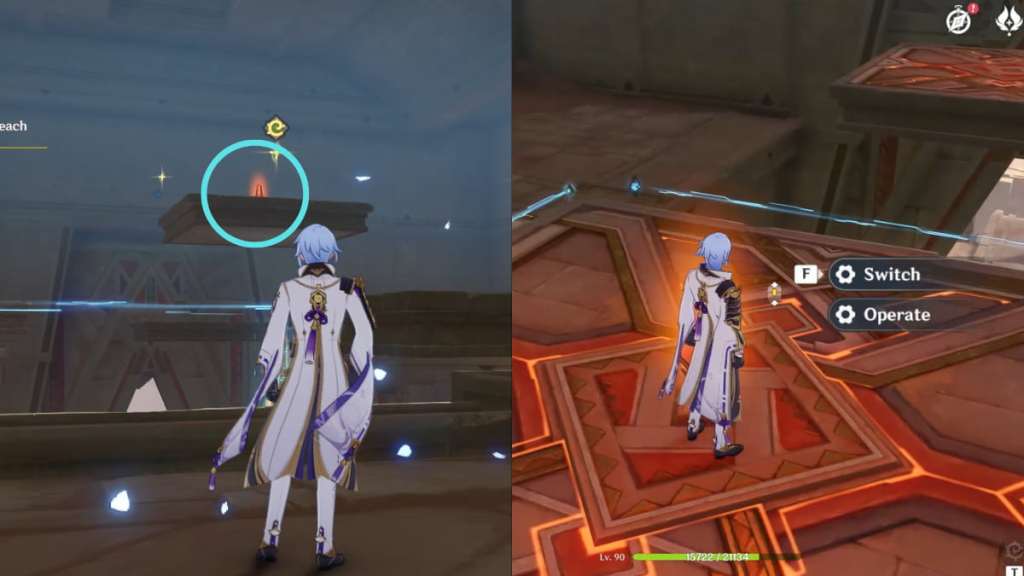
Use the Four-Leaf Sigil to propel yourself toward the platform with the red device called the Prism of Khaj-Nisut. When it’s glowing red, you can control the position of all red platforms. And if it’s glowing blue, you can control the position of all red platforms. You can interact with the Prism to choose your preferred command:switchchanges its color, andoperatecontrols the platforms.
To solve this puzzle, you must interact with the Prism in thisorder:

If you make a mistake or forget, you can relog to restart the puzzle.
Once you solve the puzzle correctly, the game will divert your attention toward a switch on the wall. Use the Four-Leaf Sigil to propel yourself toward the switch, theninteractwith it to bring down an elevator. Step onto theelevatorand interact with it to head to Khaj-Nisut’s upper floor.
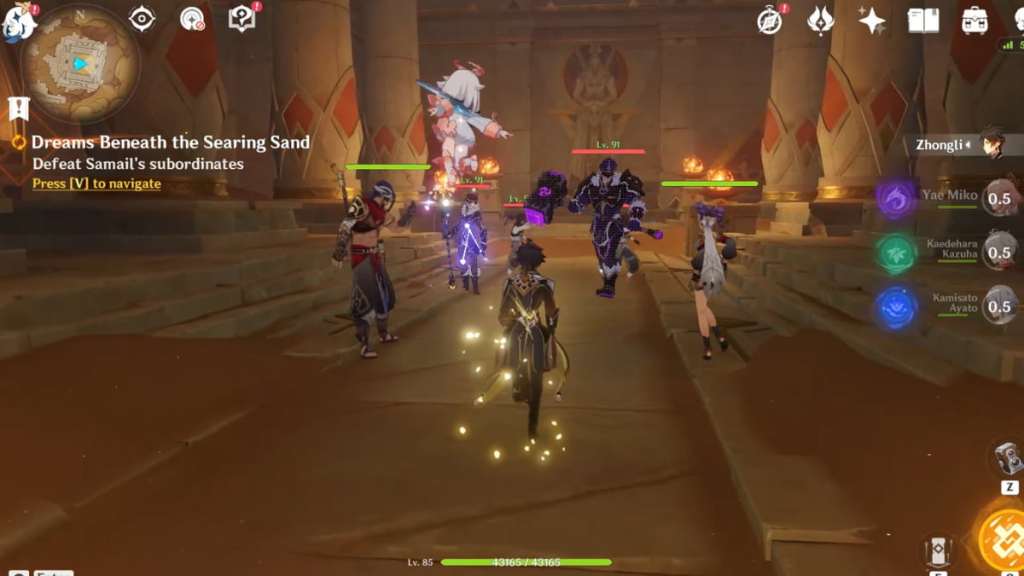
Defeat Samail’s subordinates
Once you’re on the upper floor, continue forward to prompt dialogue between the archaeological team and Samail. After that, you mustdefeat three wavesof Fatui and Eremites. This will prompt another dialogue between the characters.
Escape from Khaj-Nisut
Turn backand jump down the hole to head to the lower floor, then keep moving forward and jumping down to pass through the barriers and get to the lowest floor. Once you’re on the ground, follow thedirection of the quest markerto find the exit. There’s no time limit for this segment, so don’t panic. If you fail, you may always try again. Once this part is over, you’ll engage in dialogue with the team and eventually disband in Aaru Village, completing the World Quest. You’ll unlock the Sumeru: The Gilded Desert - Series I Achievement calledSlumber, the Brother Of…
Check out our guide onHow to Look for the materials that Kayvan needs in Genshin Impactto complete a Sumeru Daily Commission.