Dual Evidence is the first World Quest in the Old Notes and New Friends questline, where you meet an old researcher named Soheil, who refuses to believe that you and Tirzad’s archaeological findings hold any truth. Prove him wrong by presenting him with a stone slate containing full clearance.
How to unlock the Old Notes and New Friends Sumeru World Questline in Genshin Impact
To unlock the Old Notes and New Friends, you must first complete the entire Golden Slumber World Questline:
Once you’re done with all the above, return to Aaru Village to automatically prompt dialogue with a researcher namedKalantari. If the dialogue doesn’t automatically start, you’ll find an NPC named???nearby—speak with him to initiate the first quest under Old Notes and New Friends:Dual Evidence.

How to turn on the quest navigation in the Dual Evidence World Quest in Genshin Impact
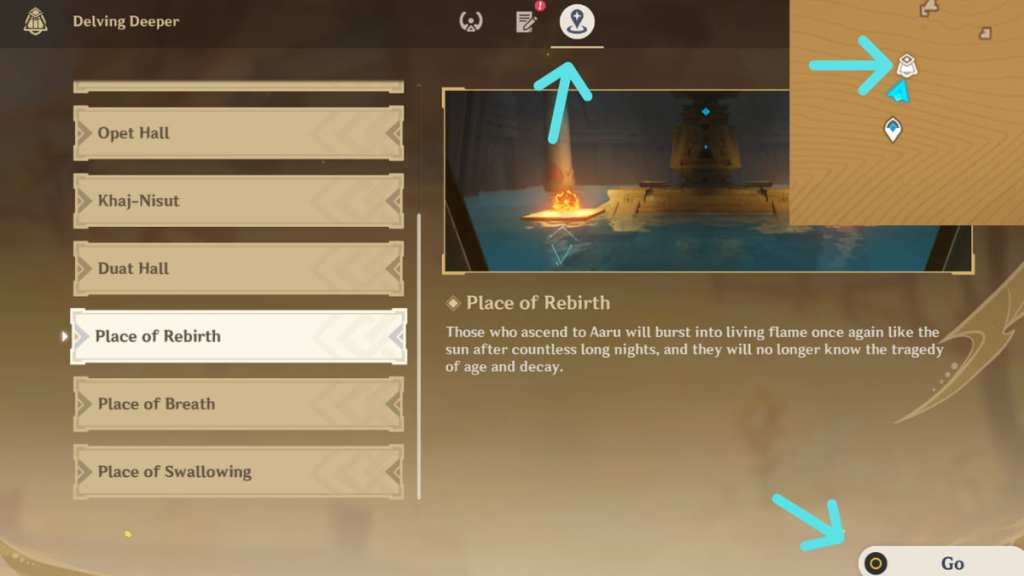
The quest marker doesn’t work as it usually does while exploring the underground ruins in Dual Evidence. To help you get from one place to another, head to yourQuest Item Inventoryand open theScarlet Sand Slate. Switch to the third tab and select the area you want to explore, then clickGowhen you’re ready. The navigator will look like an icon of a slate on the World Map and mini-map.
How to complete the Dual Evidence Sumeru World Quest in Genshin Impact
After speaking with Kalantari, walk toward Aaru Village and speak with an old man namedSoheilnear the Teleport Waypoint. He thinks you’re a fraud, so you must prove him wrong by further discovering the secrets behind the stone slate. From this point, you mustuse the Scarlet Sand Slate to navigate—see above for a quick guide on how to do so.
Related:Genshin Impact What Does This Button Do? & The Breakthrough hidden Achievement guide
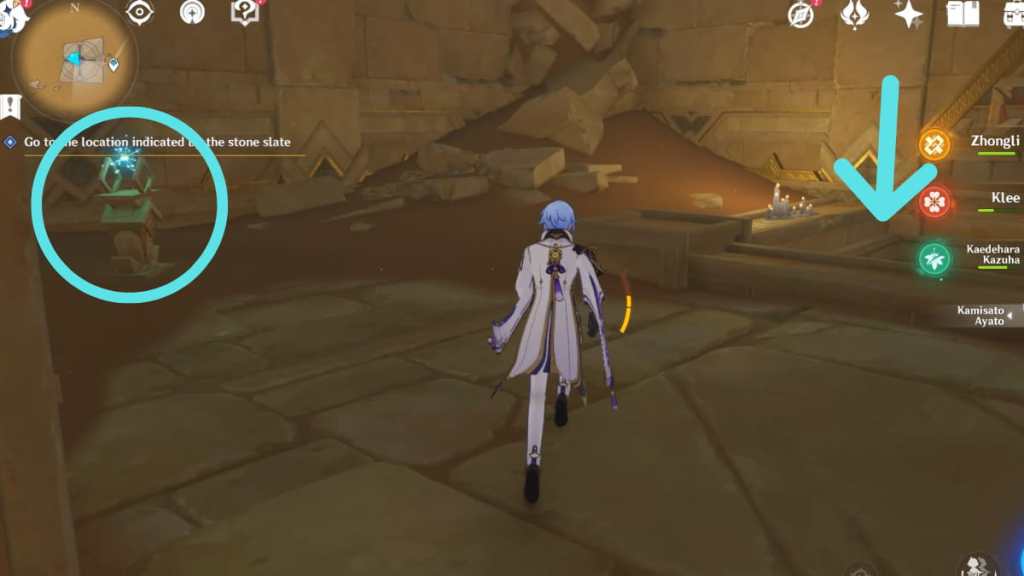
Go to the location indicated by the stone slate
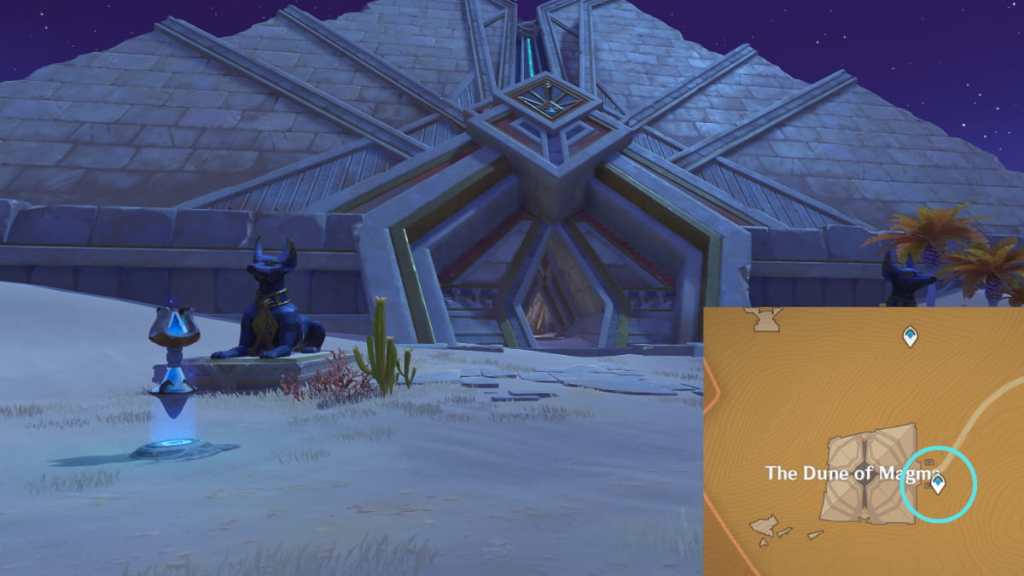
Head toThe Dune of Magma. Upon entering the building, interact with theControl Unit on the left and rightto disperse the barriers beside both of them. Then climb the stairs beside the Control Unit on therightand follow the path until you enter a room with a Primal Ember and hole in the ground.
You must wait until there isno air currentcoming from the hole in the ground, as it will blow away the Primal Ember. Sowaituntil the fan below is turned off, thenrelease the Primal Emberand plunge alongside it. Release it again, and follow it until it lights up the torch in the previous room.
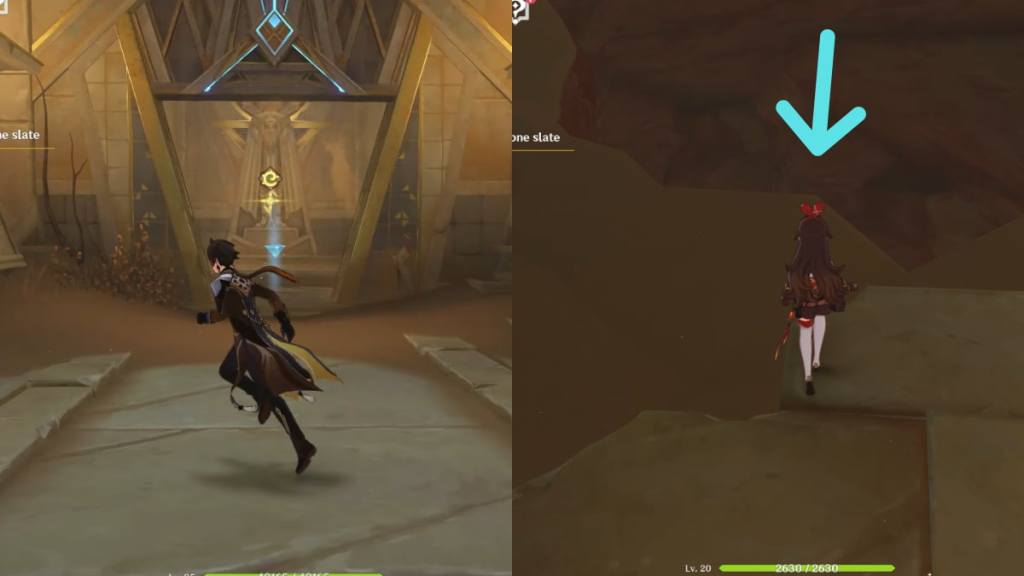
The entrance between the two torches will open, allowing you to enter. There’s a Forged Prism Light, but you can ignore it if you wish, as it’s irrelevant to this quest.Plungeto find an optional puzzle. Head to the other side of the room (behind the branches) to find a hole in the ground, which is a little hard to spot as it camouflages with the environment.Plungeto proceed with the quest.
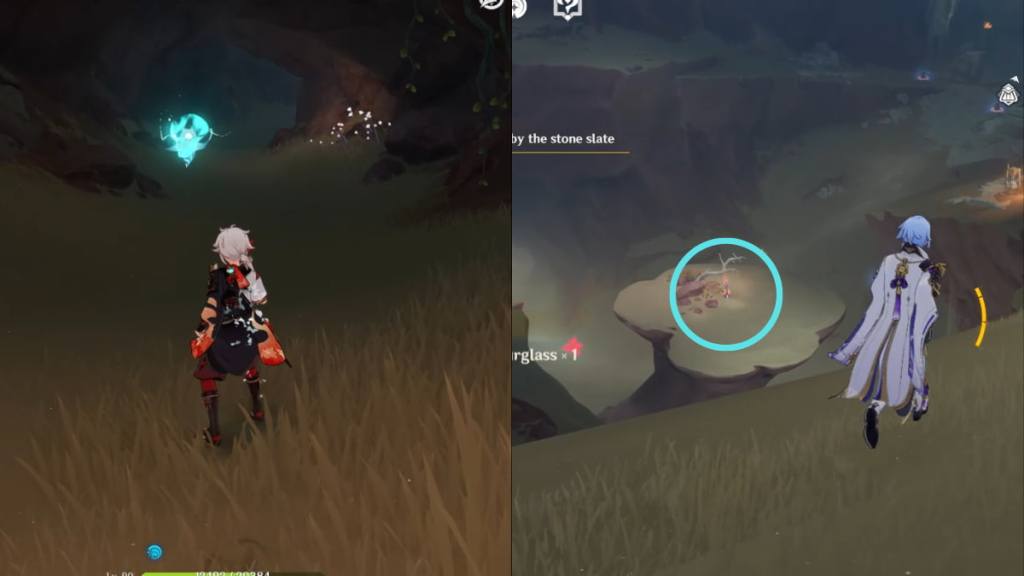
You’ll immediately spot a Seelie. While optional, we recommend following it, as it will lead the way. Otherwise, just follow the path forward until you see a huge clearing. There, you’ll spot aTeleport Waypointthat you’re able to activate to make it easier to return later on.
Next, follow the path eastward, where you’ll find a staircase leading up to a pyramid-shaped entrance. Enter the building to spot anotherSeelie, which we recommend following as it will lead the way. Otherwise, turn right and keep going forward until you spotanother Teleport Waypointthat you’re able to likewise activate for ease of travel.
Interact with theControl Unitto open the gate, then press on to prompt dialogue with Paimon, completing this objective.
Follow the stone slate’s guidance and obtain full clearance
In this segment, you must enter three areas and solve puzzles to get the rest of the clearance to complete your stone slate. Apart from being a required quest objective, this will also allow you to solve all of the puzzles in the desert. You can head to the three areas in any order:
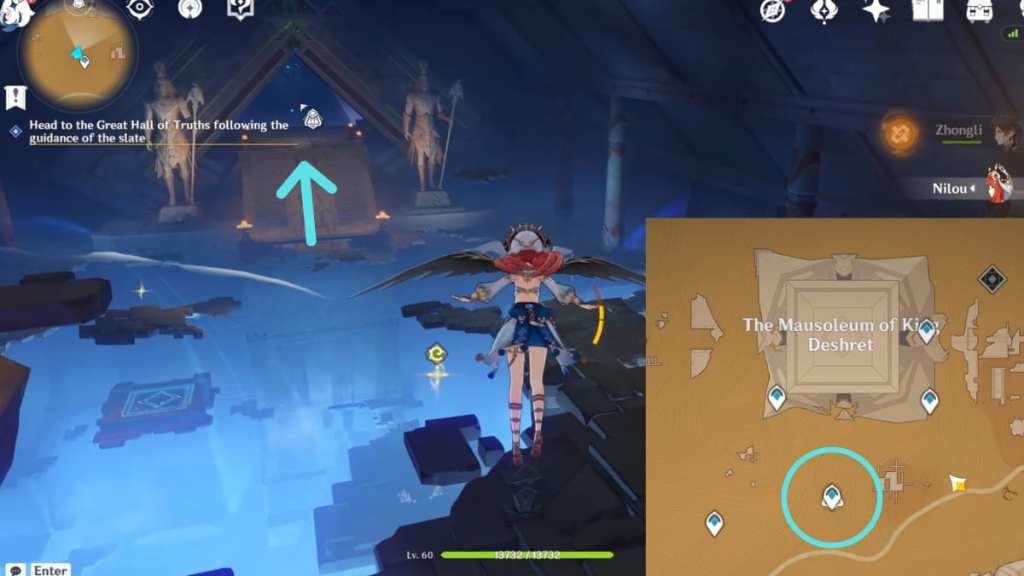
Head to the Dual Hall through the Teleport Waypoint south of The Mausoleum of King Deshret, circled above. Then glide toward the staircase at the other side of the Hall. Enter the pyramid-shaped entrance to prompt dialogue with Paimon.
Related:Genshin Impact Escape From the Hospital Achievement guide
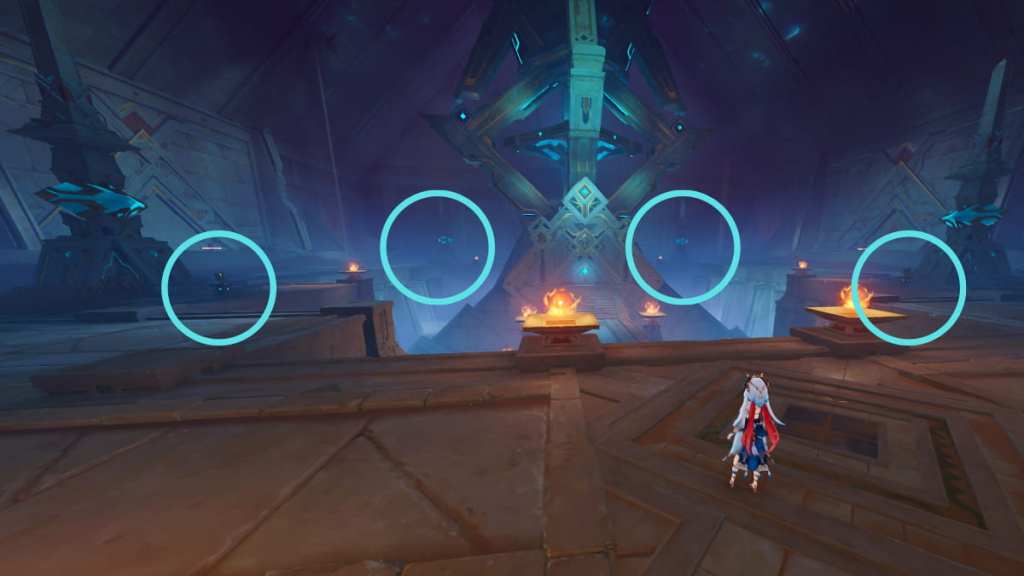
Explore the area and find a way to activate the giant device
In this segment, you must interact with each Control Unit in front of the devices situated in the room’s four corners. You can do so in any order. Once that’s done, a small cutscene and dialogue with Paimon will play. Then head to the front of the giant device, climb the staircase, andwalk through the blue barrierto enter another room. You’ll unlock the Wonders of the World Achievement calledThe Straight Path.
Light the Primal Torches
This part is fairly simple. You mustrelease the three Primal Embersin the room and lead them back to their posts. You can use the regular quest navigator to find their exact locations. Once you release a Primal Ember, it will attach to another device and summon two Primal Constructs, so get ready for battle! You must release the Primal Ember again until it reaches the Torch. Once all three are done, head to the front of the device at the center to find aglowing spotthat you must interact with to prompt a cutscene.
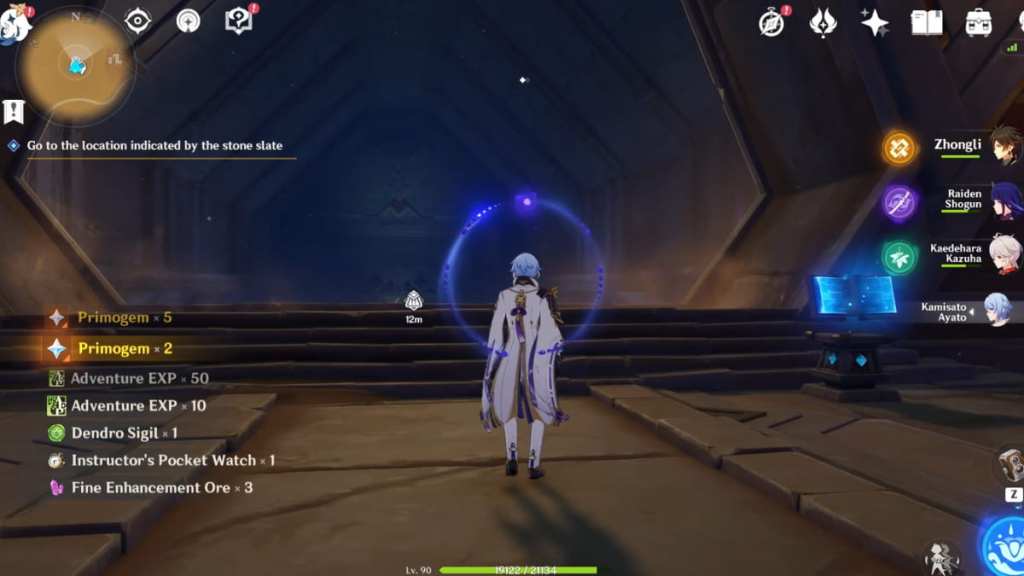
You’ll be teleported to a clearing where you must engage in a boss battle against a Field Annihilation Array.Defeatit to complete this segment. After the small cutscene,interact with the Precious Chestto obtain a Quest Item called theRecord of Aaru’s Shut. Bring it back to Soheil in Aaru Village to complete the World Quest. You’ll also unlock the second part of the Old Notes and New Friends questline, Soheil’s Wish.
Check out ourGenshin Impact Afratu’s Dilemma World Quest guideto complete another important quest in the desert.