Dreams Beneath the Searing Sandis the fourth part of theGolden SlumberWorld Questline, detailing the archaeological team’s expedition to the Khaj-Nisut. One segment involves activating the mechanism in the center of the hall by solving three puzzles, which you’re able to do in any order.
How to Activate the mechanism in the center of the hall (0/3) in Genshin Impact – Dreams Beneath the Searing Sand
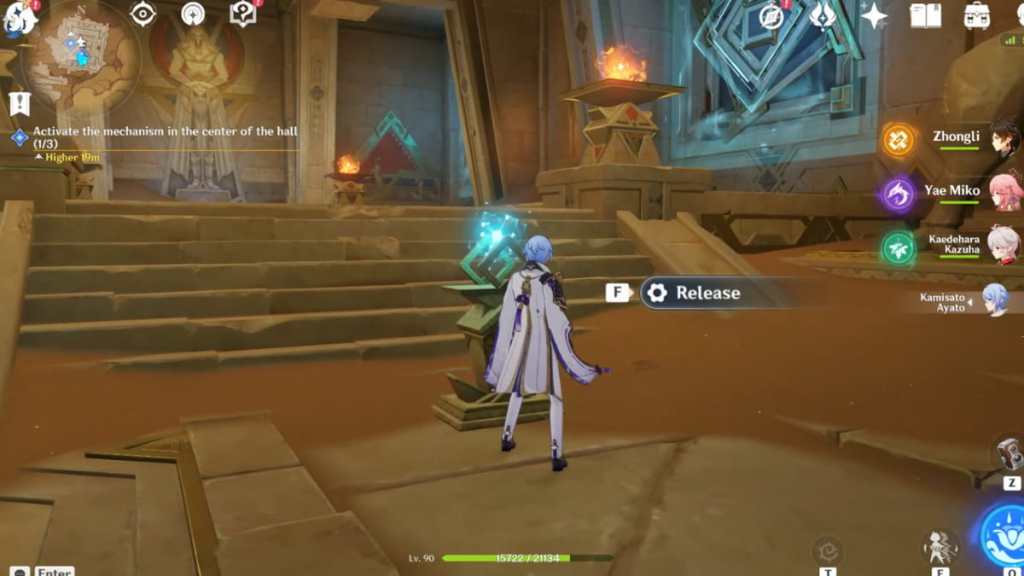
After interacting with the Control Unit, you’ll be asked to activate the mechanism at the center of the hall. This can be done by guiding three Primal Embers to their posts to unlock their corresponding Control Units and then interacting with the latter to complete the puzzles.
First puzzle
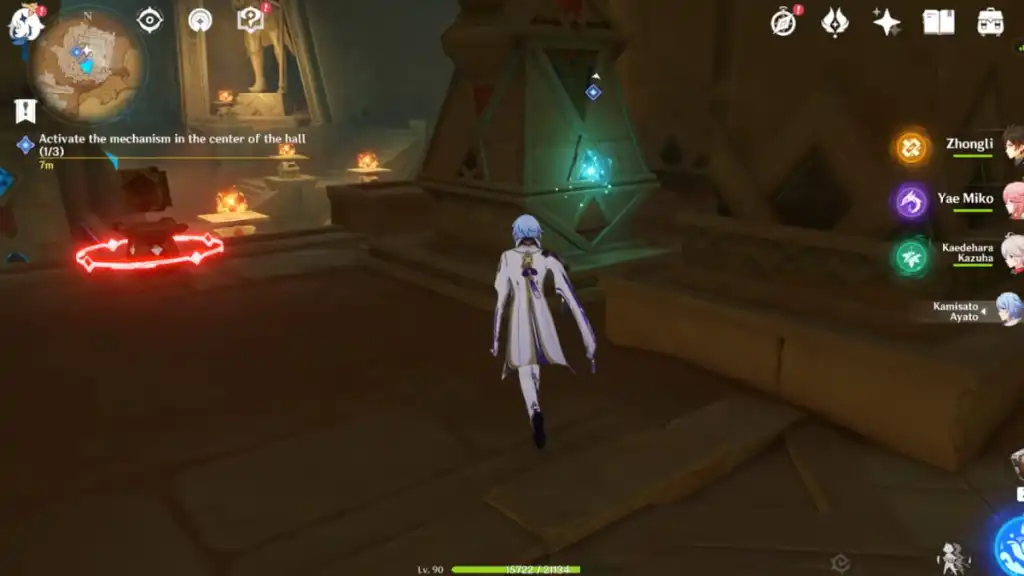
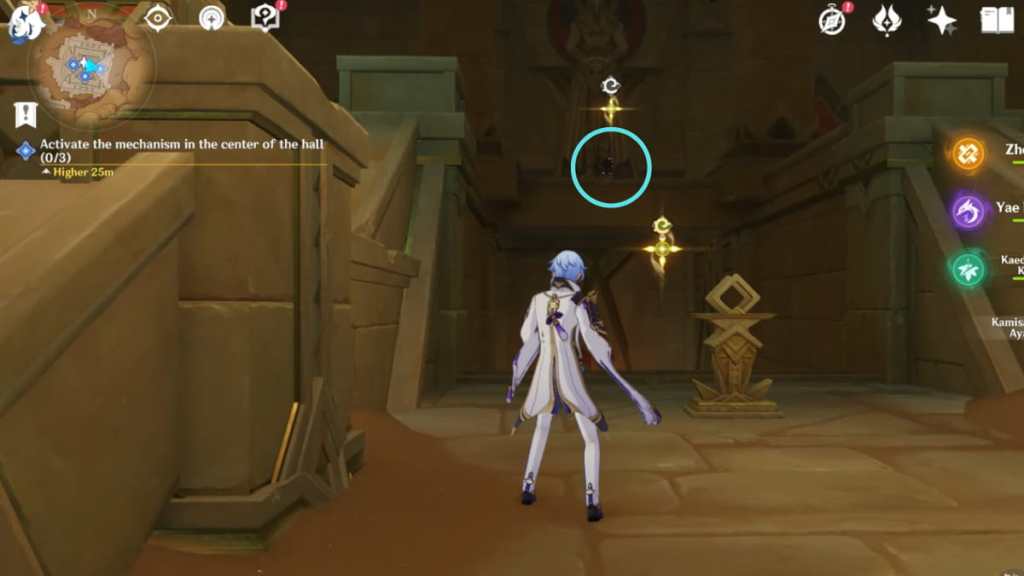
Head to the area circled in the image above to find the first device you mustinteractwith to release a Primal Ember. Follow the Primal Ember to the room below.Defeatthe Primal Construct andreleasethe Primal Ember from the second device, and wait until it reaches its post. Once done,return to the main room.
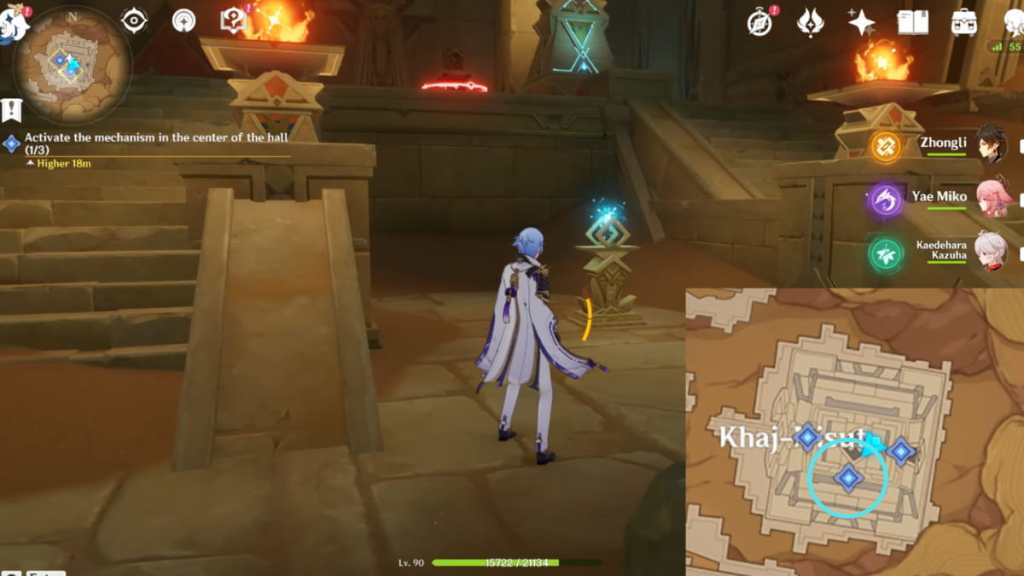
Once you’re back in the main room,look upto find that theControl Unitabove the first device has been unlocked. Climb the stairs or use the Four-Leaf Sigil to propel yourself towards it andinteractwith it to complete the first puzzle.

Related:Genshin Impact Good Medicine Is Hard to Come By Sumeru Daily Commission guide
Second puzzle
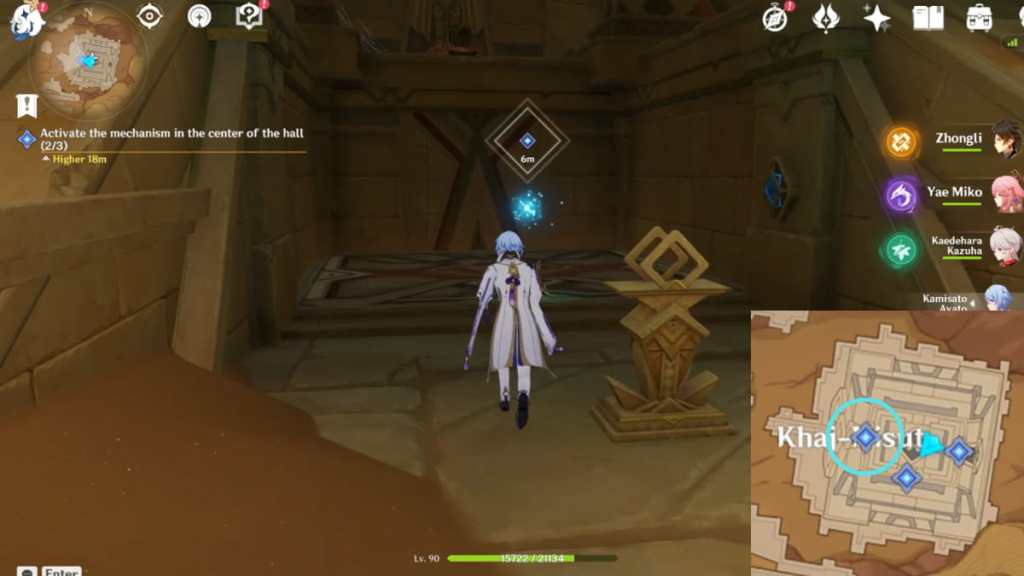
Head to the area circled in the image above to find the second device.Interactwith it to release a Primal Ember, which you must follow toward the room’s other side. It will lead you to a floor below, toward a room with a Primal Construct.Defeatthe Primal Construct to proceed.
The next part is tricky, as you need to be careful about timing. You must release the Primal Ember from the device once the Large Fan Blades areturned off. So wait until there’s no air blowing out of the first Large Fan Blade, then release the Primal Ember. You must ensure that the Primal Ember flies upwardbeforethe Fan at the edge blows air upward. Otherwise, the Primal Ember will return to the device, and you need to time its release again.

Once the Primal Ember has flown upward, wait until the Large Fan Blade on the floor turns on, thenuse the airto propel yourself upward. Follow the Primal Ember toward its post to unlock the Control Unit at the left. Theninteractwith the Control Unit to complete this puzzle.
Related:Cyno’s Special Dish Recipe and how to cook it in Genshin Impact
Third puzzle
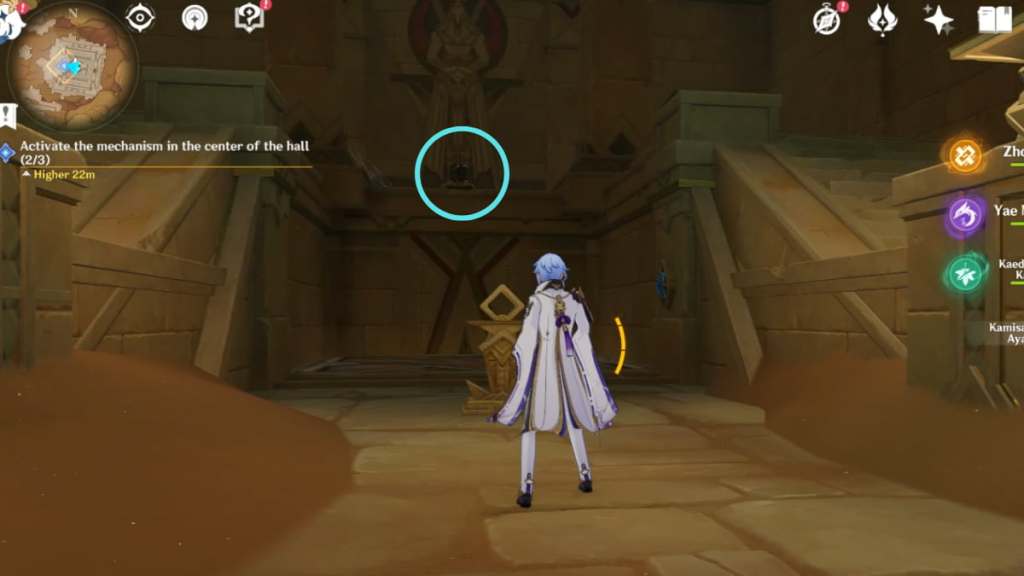
Head to the area circled in the image above to find the third device.Interactwith it to release a Primal Ember, which you need to follow toward the elevator in front of it. Then interact with theelevatorto go to a lower floor. The room is filled with barriers, so follow these directions to make it to the other side.
First,turn leftuntil you feel the edge of the barrier, then moveforward. Stick to the slightly raised flooring in the center of the room andturn rightin between the barriers at the top and bottom. Keep moving until you’re at thevery rightof the room, then moveforwardto find the device. Interact with the device to release the Primal Ember, which will go to its post.
Turn back and interact with theelevatorto head back to the upper floor, then climb the stairs and interact with theControl Unitto complete the puzzle.
Check out our guide onHow to Look for the materials that Kayvan needs in Genshin Impactto complete a Sumeru Daily Commission.